Shares 2
How To Flush And Clean A Motorcycle Fuel Tank?
Last updated on 20-Jul-2025 , By Saleh
A motorcycle is a machine that is built with various components some seats idle and some are frequently movable. However over time for various reasons, motorcycle components start to wear and rust both the idle and moving parts. Thus the motorcycle fuel tank even sitting idle loaded with gas also gets rusted and collects deposits inside that need a flush and clean up in some intervals. Consequently, here will go through the process of flushing and cleaning a motorcycle fuel tank.
How To Flush And Clean A Motorcycle Fuel Tank?
Maintaining a clean and solid fuel supply system is crucial for the performance and longevity of a motorcycle. Over time, fuel tanks accumulate sediment from the gasoline, the metal surface gets rusted inside, and other contaminants get inside and seats as deposit inside. All of those things have a slower but negative impact on the fuel supply system and contamination directly impacts the engine's efficiency.
Therefore, flushing and cleaning a motorcycle fuel tank is considered a vital maintenance task that ensures optimal performance and longevity of a motorcycle's engine. Flushing the fuel tank periodically literally helps to ensure running a motorcycle smoothly. In this article, we will provide you with a step-by-step guide on how to flush a motorcycle fuel tank effectively. However, it’s a simple task that is not a kind of rocket science, so here we have a brief on the process.

Get Some Preparation For Flushing And Cleaning The Fuel Tank
So, my fellow riders, before we jump into the flushing and cleaning task we should take care of our safety. So grab your safety goggles, hand gloves, and work boots before getting in the work. Next, park your motorcycle in a plain and well-ventilated workplace that has enough illumination facilities. Then get a set of wrenches, pliers, screwdrivers, and a fuel line clamp which might vary depending on your bike's setup. Thus, do check your motorcycle's manual to ensure you have the right tools for the job.

So, when you are prepared then at first remove the fuel tank from the motorcycle. If needed check the owner’s manual for specific instructions and follow accordingly. Generally, it needs to use a wrench or socket set to loosen and remove any bolts or clamps holding the tank in place. Be cautious when disconnecting any fuel lines or electrical connections, and make sure to catch any fuel that may spill accidentally.
Steps To Flush And Clean A Rusty Fuel Tank
On removal of the fuel tank drain the fuel from the tank and keep that in a suitable gasoline container in a secured place. For this job, you can either use a siphon or simply drain opening the fuel line on the container. Keep the empty fuel tank on a rubber cushioned surface perhaps on a car tire. However, in the meantime clean the outer surfaces of the fuel tank and inspect thoroughly for any rust, dent, or pinholes and treat them separately later after the fuel tank flushing process.
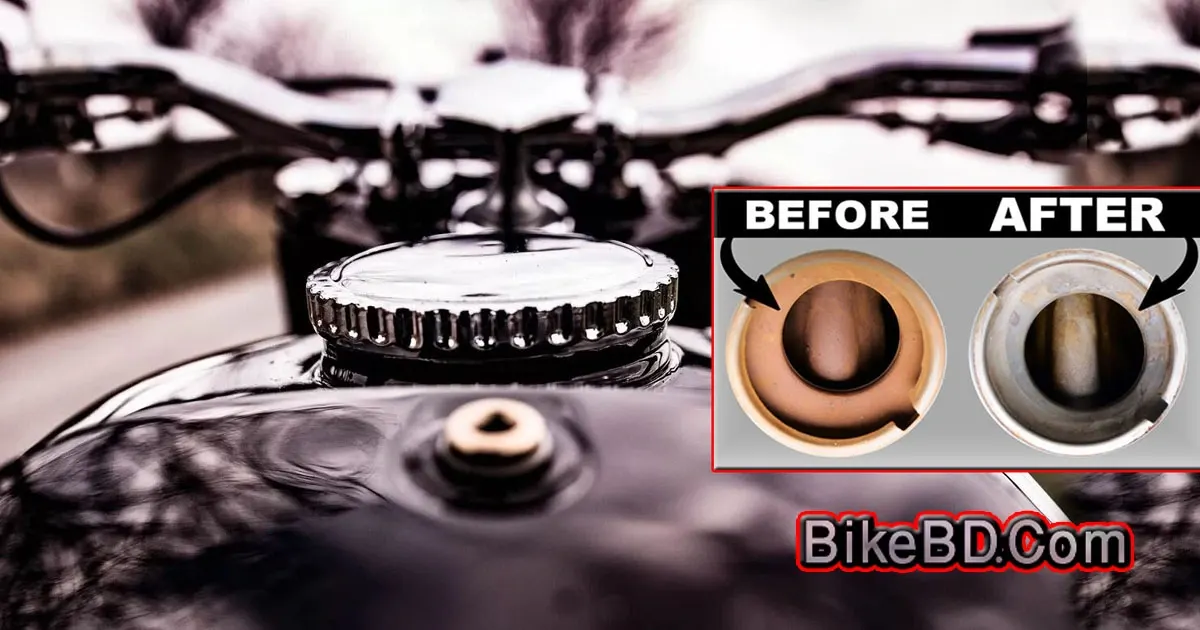
After cleaning the outer surface of the fuel tank pour some automotive-approved metal rust-cleaning chemical agent or fuel tank cleaner into the fuel tank. Then close the tank cap and shake it firmly for a minute. Let, the chemical soak by the deposit inside for a few minutes and work on the rust on the inside wall of the tank. Then again shake the fuel tank firmly and completely drain out with rusty deposits.
You can do the same process once again or can go into the second phase cleaning the fuel tank with soap water. To clean up the fuel tank pour some warm soapy water into the tank and again give it a good swirl. Again, let the soapy water sit for a while to break down any grime and the smallest residue. Then, shake it again, drain the soap water completely, and then rinse the tank thoroughly with clean water to remove all the soap residue.
Once the tank is completely clean, it's crucial to dry it fast and completely to prevent any rusting. So dry it out under the sun for a while or you can use compressed air to blow dry the tank. On drying double-check that there's no moisture left inside before proceeding to the next. For your satisfaction, after drying under the sun or using an air-blower you can pour some gas inside and drain that after giving a good swirl. That will make the tank ready to fit with the motorcycle and roll.
Fix Everything, Recheck, And Have Fun With Your Ride
So you are done with the flushing and cleaning job of the fuel tank of your motorcycle. Therefore, fix it again with your motorcycle by following the reverse steps. Carefully connect the fuel line connected to the carburetor or fuel injection system. Be more caring about the fuel pump fixed inside. Also, do check the fuel filter, if that is found dirty or clogged, replace it. Take extra care not to damage the fuel line or the fitting while placing the tank back on its seat, and then secure it with the bolts or screws you removed earlier.
Well, you’ve made it to the final step. Load the tank with fresh fuel and recheck for leaking or other issues. When you are confirmed of everything ignite the engine and get some revs! If everything is okay get back the motorcycle on the road after getting yourself packed into the gears and have fun.
T
Published by Saleh


