Shares 2
How to paint a motorcycle with spray cans
Last updated on 18-Jun-2026 , By Rafi Kabir
Are you ready to give your motorcycle a transformation? With just a few simple steps and some spray cans, you can paint your motorcycle and make it look like new. Painting a motorcycle with spray cans may seem intimidating, but with the right preparation, knowledge, and safety precautions, you can achieve great results! This article will provide the necessary information on how to paint a motorcycle using spray cans in an easy-to-follow guide.

How to paint a motorcycle with spray cans (Details)
Spray painting a motorcycle is a great way to give it a personal touch or freshen up its appearance. Preparing the motorcycle for painting is an important first step, as it will directly influence the end result. To prepare the motorcycle, start by washing it thoroughly with soap and water to remove any dirt, grime, and oil that could prevent paint from adhering properly. Once washed, use a degreaser and sandpaper to remove rust and scuff marks from the surface. After that, apply masking tape around any areas you don't want to be painted. Finally, use an orbital sander with medium-grit sandpaper to create a smooth surface for the paint to adhere to.
Choosing Spray Paint
Choosing the right type of spray paint is key to getting a professional finish on your motorcycle. Depending on the condition of the motorcycle and the look you are trying to achieve, there are several types of spray paints available that can help you achieve this goal.
For instance, if you want to give your motorcycle a classic look, you should use lacquer-based paints. These paints provide excellent coverage and will protect the underlying metal from rusting or corroding. They also dry quickly and have a durable finish that can withstand harsh weather conditions.
If you want to give your bike an art deco look, then using urethane-based paints could be a great choice. This type of paint is more resistant to scratches and chips than lacquer-based paints, making it ideal for motorcycles that are used frequently or in harsher environments.
If you are looking for something more modern, then acrylic-based paints are another option. These paints offer a high-gloss finish that stands out from conventional finishes and gives off an eye-catching shine. However, these types of paints often require multiple coats for full coverage and may require more effort in order to maintain their glossy appearance over time.
No matter which type of spray paint you choose, make sure it is designed specifically for automotive use so you get the best results possible for your project.
Painting Process
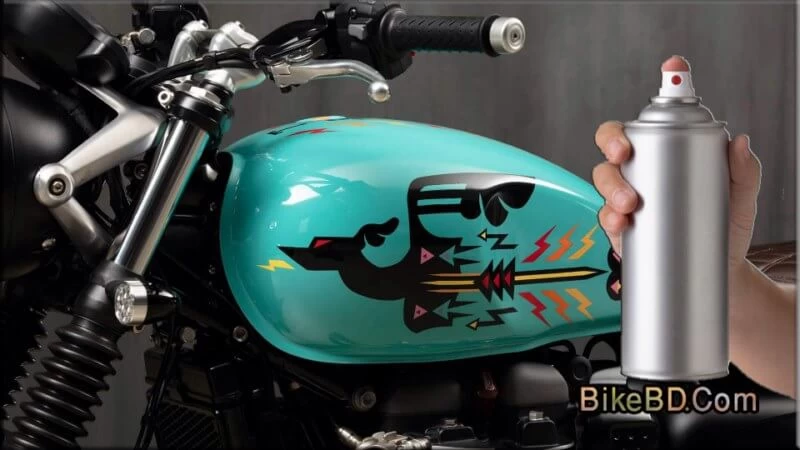
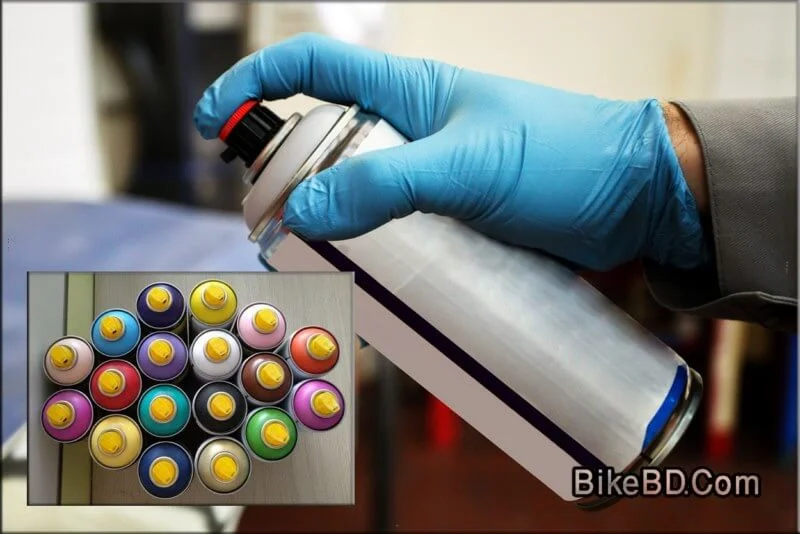
Painting a motorcycle with spray cans can be a cost-effective and easy way to give your bike an upgrade. Start by prepping the surface of the motorcycle, removing any rust or dirt, and lightly sanding the area you plan on painting. Make sure to wear protective gear during this process, such as gloves and safety glasses.
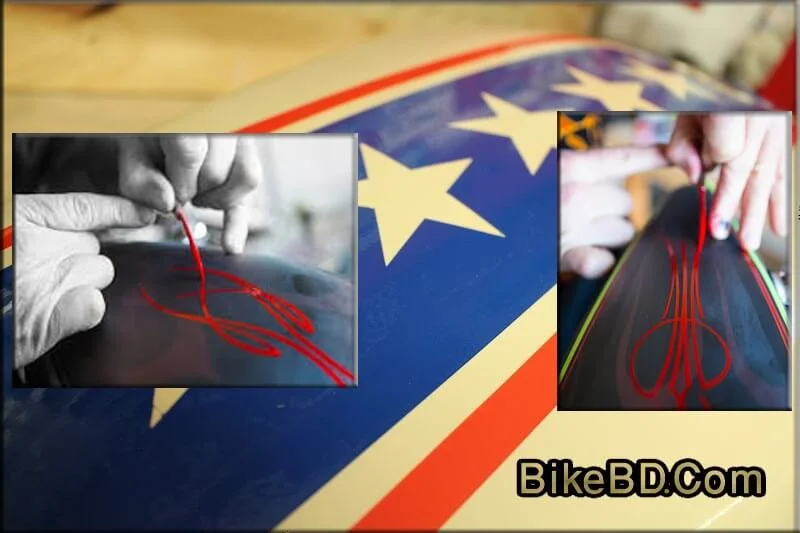
Once prepped, select your desired colors of spray paint that are specifically made for automobiles. Generally speaking, you should use two layers of paint for optimal coverage and durability. To start painting, shake the can vigorously for at least one minute before applying it to the surface. From there, hold the can 8-10 inches away from the surface and begin spraying in a back-and-forth motion in overlapping strokes until all areas are evenly covered.
Allow each coat to dry completely before applying additional layers of paint. Depending on how many coats you use, it may take about 24 hours for the paint to fully dry and cure properly. To ensure maximum protection against weathering and scratches, apply a clearcoat layer overtop once the painted area is completely dry.
Finally, it's important to follow up with proper aftercare to maintain your newly painted motorcycle in top condition over time. This includes regularly washing your bike with soap and water, avoiding riding through puddles or standing water pools that could cause corrosion or rusting of the paint job underneath. Additionally, wax or polish your motorcycle occasionally to help preserve its finish over time.
Aftercare
Aftercare is an essential part of the process of painting a motorcycle with spray cans. To ensure that your paint job lasts for years to come, you should always complete these important steps.
The first step is to wait for the paint to dry completely and cure thoroughly before attempting any further action. This typically takes 48-72 hours, depending on the type of paint you used and the temperature of the air. Make sure to keep your motorcycle in a well ventilated area while it cures so that the fumes don't linger and damage your new paint job.
Once it has been allowed to cure, you should gently wash off any dust or dirt particles that have accumulated on the surface using a soft cloth and a mild cleaning solution. Be careful not to rub too hard or use harsh detergents as this can damage your new paint job.
After washing, you should apply a clear coat over your entire bike to protect it from UV rays, pollutants, and moisture. You can buy clear coat specifically designed for motorcycles at most auto parts stores. Follow the instructions carefully when applying, making sure not to leave any streaks or drips in the finish. Allow the clear coat to fully dry before buffing out any imperfections with a polishing compound. Finally, be sure to regularly clean and wax your bike to keep it looking its best and prevent rusting or fading of your paint job over time.
Safety Precautions
Spray painting a motorcycle can be a great way to create a custom look for your bike, but it's also important to take safety precautions. It is highly recommended that you wear protective gloves, face masks and goggles when spray painting. This will protect you from the fumes and overspray that are produced by the paint spray cans.
When handling the spray paint cans always make sure to read the instructions beforehand. The propellant in the can is very flammable and should not be used near any source of fire or heat. Additionally, do not shake spray cans too much as this may cause them to become pressurized, leading to an explosive reaction when opened.
In order to reduce exposure to chemicals, work outdoors in an area away from people and pets. If possible, have some kind of vent system installed or use fans near your workspace as these will help with dispersing fumes quickly and safely. Make sure you do not point the nozzle at yourself or anyone else while spraying.
Finally, once you're done painting it's important to dispose of all cans properly in an environmentally friendly manner. Always remember that safety should always come first when spray painting a motorcycle!
In conclusion, painting a motorcycle with spray cans is an achievable task. With good preparation, the right supplies, and some careful technique, you can achieve a professional finish. Remember to take safety precautions seriously when working with paint and always wear protective gear. Following these steps will ensure a beautiful and long-lasting result that you can enjoy for years to come.
T
Published by Rafi Kabir

About Rafi Kabir
I am Rafi. I always work with my hard and soul. I always try to keep up with the hopes of my superior.


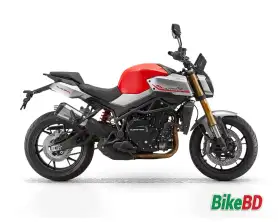
Best Bikes

Price: 169800

Price: 255000
Price: 212000